Friday 29 November 2013

Sugar Scrub

One of my favourite stores at the moment is Lush.  I love their products because they feel so organic and homemade and smell like a lolly shop.  I love the little stickers of the creator and of course I stick by the use-by date just as if they were made from fresh ingredients from the fridge.  I don't think I'll put Lush out of business, but I tried some recipes from Pinterest to see what I could make at home.


This Week's Pin:  Project Handmade Christmas Presents - Sugar Scrubs
Who's This For:  Me and my dry heels
Price:  Cheap!

There were two recipes on this website and I liked the vanilla brown sugar scrub to use on my tired, dry feet.

The original recipe is:

Vanilla Brown Sugar Scrub

Ingredients:
1 cup white sugar
1 cup brown sugar
1/2 cup-3/4 cups olive oil
1-2 tsp of vanilla

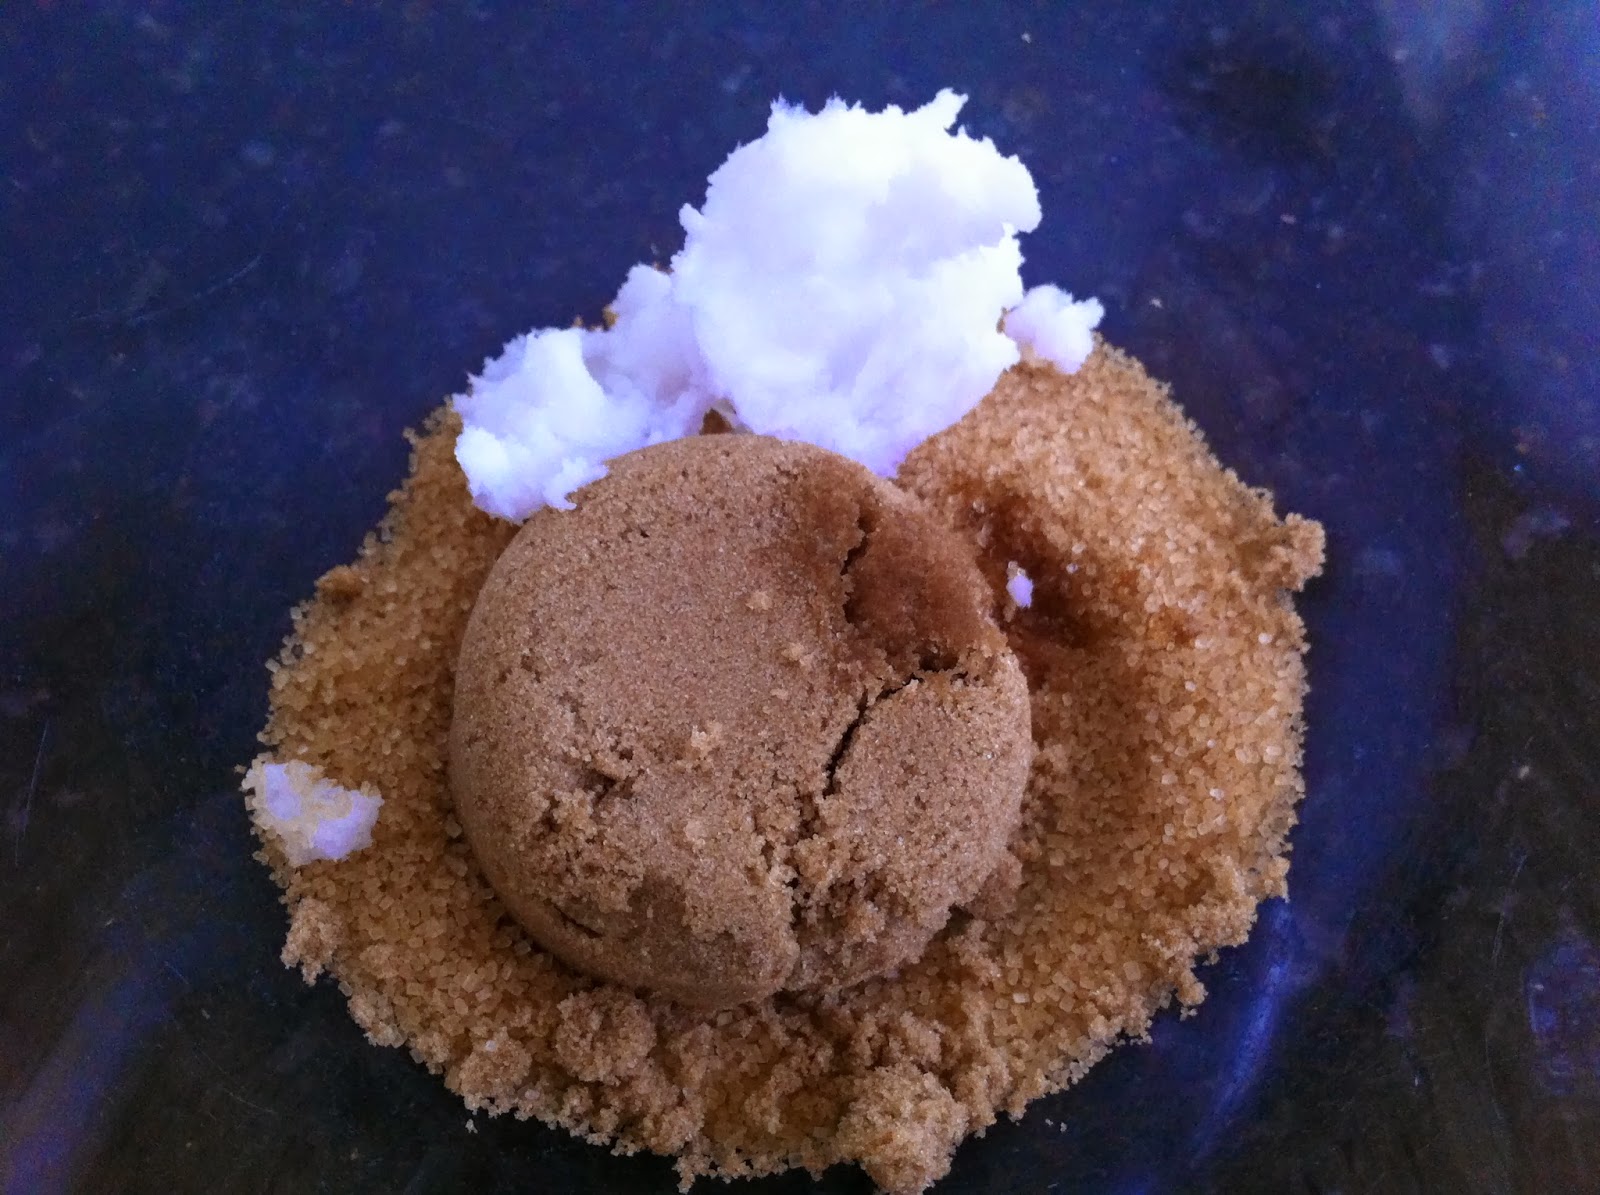
I made a small batch to try and simply combined 1/4 of each measurement.  I used brown sugar and the coarse Low GI Cane Sugar I had in the cupboard.  I replaced the olive oil with coconut oil and mashed it with a fork in the bowl.  Only a drop of vanilla was needed after it was blended and let me tell you, it does smell good.


Using the solidified coconut oil will give you a different result to the scrubs with the oil base.  When using a traditional oil, the sugars are suspended in liquid and occasionally you need to give them a stir to combine them and you need to watch out for the oily drips.  However, my mixture gives a drier result which is really easy to manage.


It was really simple to pack it into some washed tubs I had and test them out.  


You simply grab a pinch and rub on your skin.  The coconut oil melts with your body heat and the scrub does its little buffing thing and ta-dah, smooth, soft skin.

A word of warning though, I gave a little tub to my friend Amanda and she was concerned that it smelt so good, she'd eat the whole tub!  This is preferably not for eating, just for buffing, ok?  Enjoy...

Soops

"Strength is the capacity to break a Hershey bar into four pieces with your bare hands - and then eat just one of the pieces."
   Judith Viorst (Love & Guilt & The Meaning Of Life, Etc)

Thursday 21 November 2013

Egg Carton Wreath


This Week's Pin:  Egg Carton Wreath
Who's This For:  Me
Price:  Zero

This week, I'm doing some kinder-craft.  You know, like when you were four and had those scissors with the rounded ends and there was clag glue all over your fingers and finger painting was fun.  Wait, finger painting is still fun, but never mind. Onto crafting....

Using only egg cartons, the leaves are cut from the flat parts of the box (mostly the lid) and the largest cups are cut into the flowers and the smaller parts of the cartons are cut into smaller flower shapes; these are to be the inside petals of the flowers.  Don't be too concerned about the inner shapes as random and squished will still look fine once you place it inside the outer petals.


Some of the flower pieces I cut with rounded soft petals and some with spiky petals for variety.  I also cut little slits into the edges of the leaves for texture.


I painted each piece and cut out a doughnut shape out of stiff cardboard for the wreath base.


For a little realism, I added yellow dots into the flowers for pollen and painted the veins on the leaves.


The wreath I painted a gold colour because the flowers don't completely cover the cardboard.  Then I randomly placed the leaves around the wreath and glued them down.


Ha!  I really like it.  It's the first Christmas decoration I've put up and I've hung it in my kitchen so I can enjoy it all day.  For such a simple craft it did take me longer that I expected.  Waiting for the paint to dry, then painting the underside of each piece, having to make extra flowers to fill in the gaps just when I thought I was finished, meant that this project took waaaaay longer than I allocated.  Don't expect to do this little job in a day.

Until next week,

Soops

“Art is not what you see, but what you make others see.”
Edgar Degas   

Saturday 9 November 2013

Tin Can Lanterns


This Week's Pin:  Tin Can Garden Lanterns
Who's This For:  Me for my Garden
Price:  40 cent candle

We have a well-established recycling routine in my house.  Everything is washed, sorted and thrown into the correct bin to head off to be reincarnated into something else by the local council. Recently, I've been keeping items so that I can facilitate another method of recycling: re-using.  Just the way our grandparents did.

We buy a tin of chocolate shards every so often to sprinkle on top of our home made coffees.  The tins have a gorgeous golden shine on the inside that I think will make a stunning glow when I place a candle in them.  The outside is a bright, royal blue but with all the writing I think I'll need to spray paint them when I'm done.

You don't need a lot of pressure to hammer a nail hole however, after a little while the hollow can will dent and crush.  So the answer is really simple:  fill will water and freeze!


Oh, no I've hoarded the wrong type of cans because these are not water tight!  I simply pressed blu-tac around the bottom join of the can and I filled it only 25% full with water, waited for it to freeze and then kept topping it up little by little and returning to the freezer.  That way, the pressure of the water won't push through the bottom of the can.


Once they were filled with ice, I created a simple stencil.  I found images for butterfly stencils and drew it freehand on some paper.  I didn't want Christmas designs because in Australia, Christmas is hot.  Really hot.  There's often a total fire ban at Christmas time, so can I have little Christmas lights with a burning fire inside? - no way.  But, the butterfly goes well in my garden.

I wrapped the paper around the can and placed on a towel so that it wouldn't roll away.  Then simply following the stencil, I hammered holes along the lines leaving a space between the holes at least as big as the hole I was creating.


To get rid of the ice, I placed them in a sink of warm water.  Stupidly, I put my hand in to pull out blu-tac - ouch -  shredded knuckles!

I really wanted to see how it looks, so I popped in a tea light candle and went into the darkest room in my house, the walk-in wardrobe.  I was right, the inside gives a golden glow.  

Last thing to do is to spray paint the outside.


Woo hoo they look really cute.  I can put them out in the garden when we have our next party and enjoy.  Now the only things left for Christmas preparation is to put up all the lights, decorations, buy all the presents and make some yummy treats.  Not much.

Soops


“To be creative means to be in love with life. You can be creative only if you love life enough that you want to enhance its beauty, you want to bring a little more music to it, a little more poetry to it, a little more dance to it.” – Osho


Friday 1 November 2013

Gummy Bear Biscuits

When I was young, my Mother often made jam drops.  I can't recall the last time I made them myself, but then I saw these interesting little gems.


This Week's Pin:  Gummy Bear Biscuits
Who's This For:  My Kids
Price:  $6.00 for 36 biscuits

I've seen recipes for biscuits where hard boiled lollies are melted on top.  The lollies give a sweet crispness to the top.  These gummy bears will give an unusual texture and I'm sure the kids will expect that these are jam drops - won't they be surprised?

Ingredients are simple:

1 cup unsalted butter
1/2 cup light brown sugar
2 egg yolks (I used 1 whole egg instead)
1 teaspoon vanilla extract
2 cups all-purpose flour
1/4 teaspoon salt
3 dozen gummy bears, plus extras for mindless eating while preparing


There's nothing new or difficult about this biscuit process.  I'm sure you've done this dozens of times before.  

Cream together butter and brown sugar. Add egg yolks, one at a time.  Stir in vanilla extra.
Mix in flour and salt, stirring until combined.  Wait a moment, all-purpose flour is not self-raising flour!  I need to use plain flour (this is what we call all-purpose flour in Australia).  Oops, I nearly made cake!

So, add the flour and don't overmix.

Cover the mixture and place in the freezer for ten minutes.  Preheat oven and line the baking trays with baking paper.  Sample gummy bears.


Scoop tablespoons of mixture and roll into balls.  Leave a couple of centimetres between the biscuits on the tray.  Press your thumb into the centre of the balls and place in the oven.


Notice I didn't add the gummy bears yet?  They'll only take a minute to melt so cook the biscuits for 8-10 minutes until they look pretty much done.  Remove the tray from the oven and place a gummy bear in the indentation.  Return the trays to the oven and cook for a further 2 minutes.

Don't walk away at this stage, or make a cup of tea, or answer the phone, because those lollies will be melted in the blink of an eye.

Let the biscuits cool and enjoy.

They're a chewy, buttery biscuit and yes, the gummy topping is not what you expect but the intensity of the fruit flavour is increased so they each have a different flavour - apple, orange, raspberry - yum.

I'm not completely in love with these biscuits.  The crumbly shortbread biscuit does exactly that - crumbles, when you are stretching the chewy gummy blobs.  But we liked them enough to polish them off in a couple of days.  I've got a tried and true biscuit recipe that I might add a different topping to next time.  Some of those great boiled sweets I have in the cupboard, yep.

Soops


"Imperfection is beauty, madness is genius and it's better to be absolutely ridiculous than absolutely boring."
  Marilyn Monroe